Vandit Kalia, 8 October 2025
Photography is, at its essence, the art of capturing light on a film or sensor. So not surprisingly, any experienced photographer will tell you that light plays as big a role in determining the quality of the image as the subject and composition – and probably more so when it comes to underwater photography.
Underwater, you lose reds very quickly as light in this frequency gets absorbed by water: image start taking a blue cast in as little as 3-4m of water. Not only that, the overall scene also gets darker, as light in all wavelengths gets attenuated by the water. And this gets magnified as you go deeper – by the time you are at 15-20m, the overall lighting has come down significantly, and you have lost virtually all reds, resulting in images that look dull and lack contrast.
The fix? Using a strobe.
A strobe is just an underwater flash – using a strobe restores some of the light loss in the scene and also brings back the natural colors of the reef. A great example of this is barrel sponges. In natural light, they look a dull, darkish brown in color – light them with a strobe and they pop
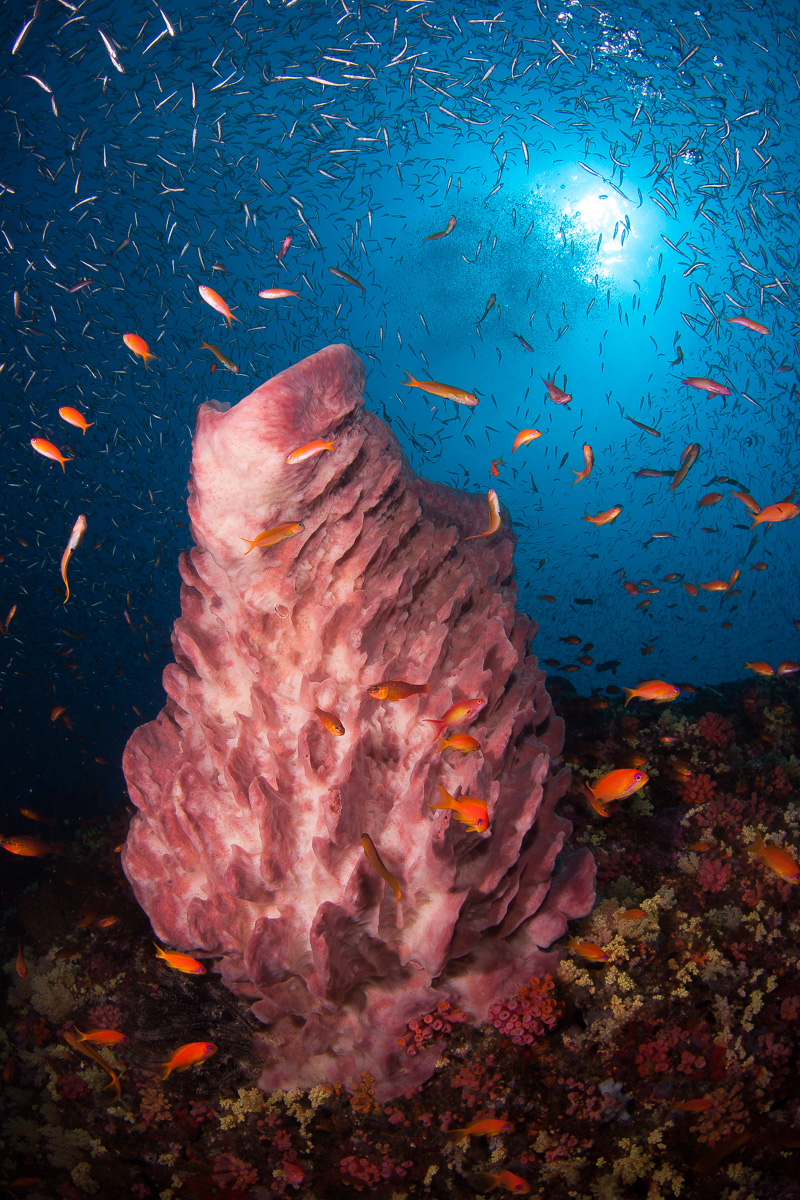 ‘ve had numerous people ask me if I used extra saturation to get this pop on the sponge – I did not. I actually REDUCED saturation!
Here is another example of using a strobe to make the subject pop:
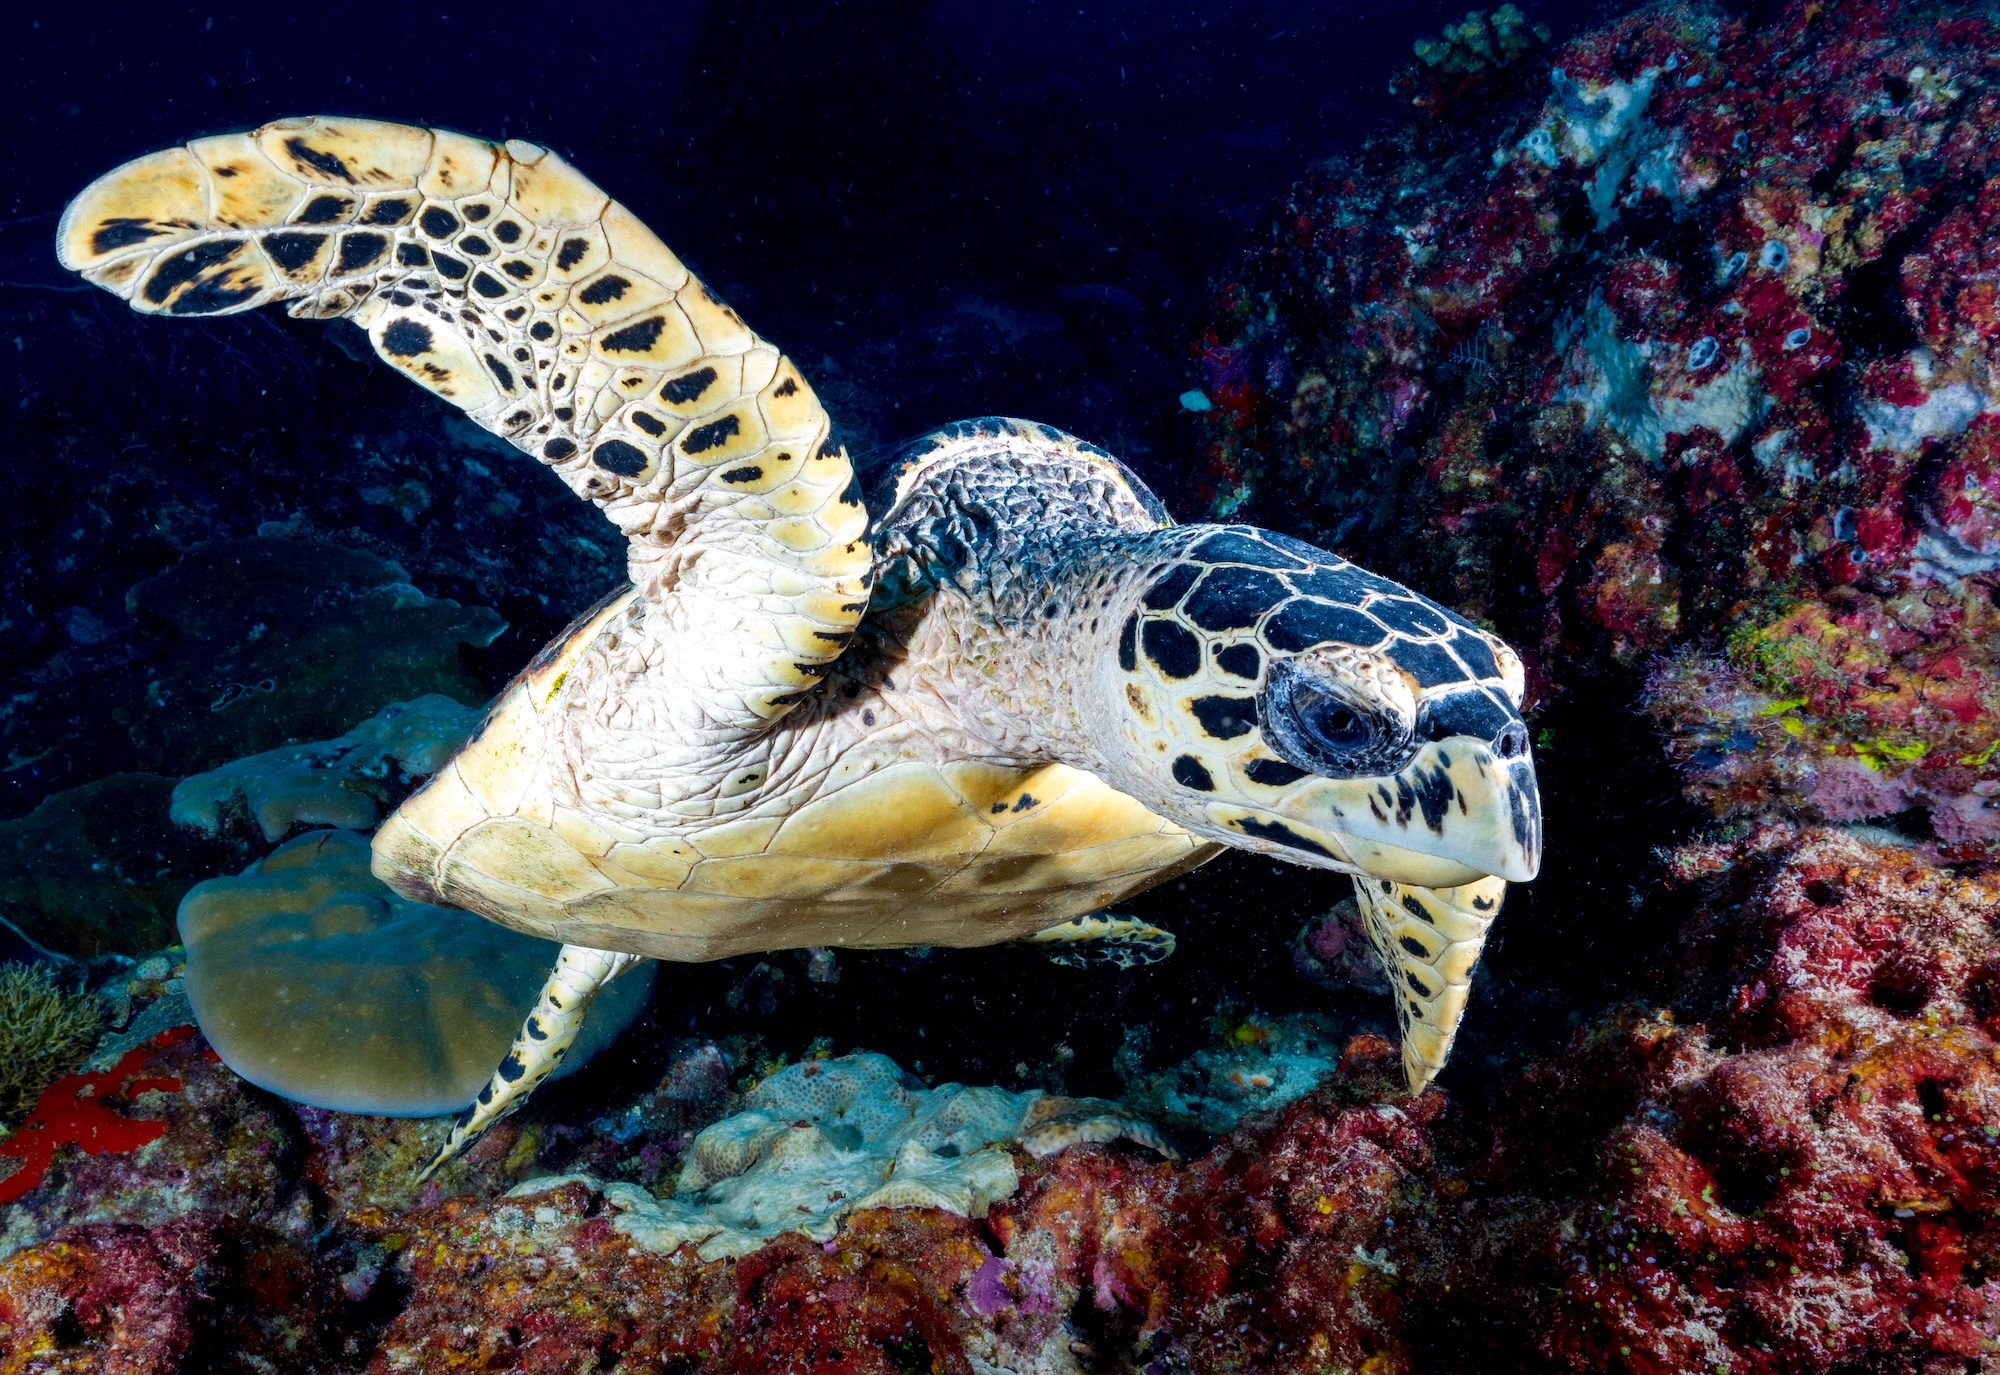
By underexposing the shot, I was able to make the background darker and then use the strobe to illuminate the turtle – making it pop a lot more than it would have without a strobe.
Another common question we get is- can we use video lights? After all, they serve the same purpose, and if they can light a scene for video, they can light a scene for photo, right?
Well, kinda. The difference has to do with power. Video lights put out a certain amount of light continuously. while strobes put out a lot of light in a fraction of a second. To put it in perspective, the output. from a strobe can be a hundred times more powerful per discharge. And because the strobe fires for only a fraction of a second, it can illuminate the subject regardless of shutter speed – whereas, with a video light, changing the shutter speed affects the brightness of the light on the subject.
So yes, video lights CAN add some additional light to the scene and restore colors to some degree. This works well in deeper waters or with close-up subjects – in shallow waters, video lights lack the power to overcome the effect of natural light (aka sunlight).
However, they are not bright enough to freeze motion or make the subject pop – essential tools in your technical arsenal for creating impactful images.
Powerful video lights with a good angle of coverage are very expensive – they cost as much, if not more than strobes. But even then, are subject to the issues described above. Cheaper video lights will barely have the brightness and angle of coverage to do anything except illuminate close-up subjects.
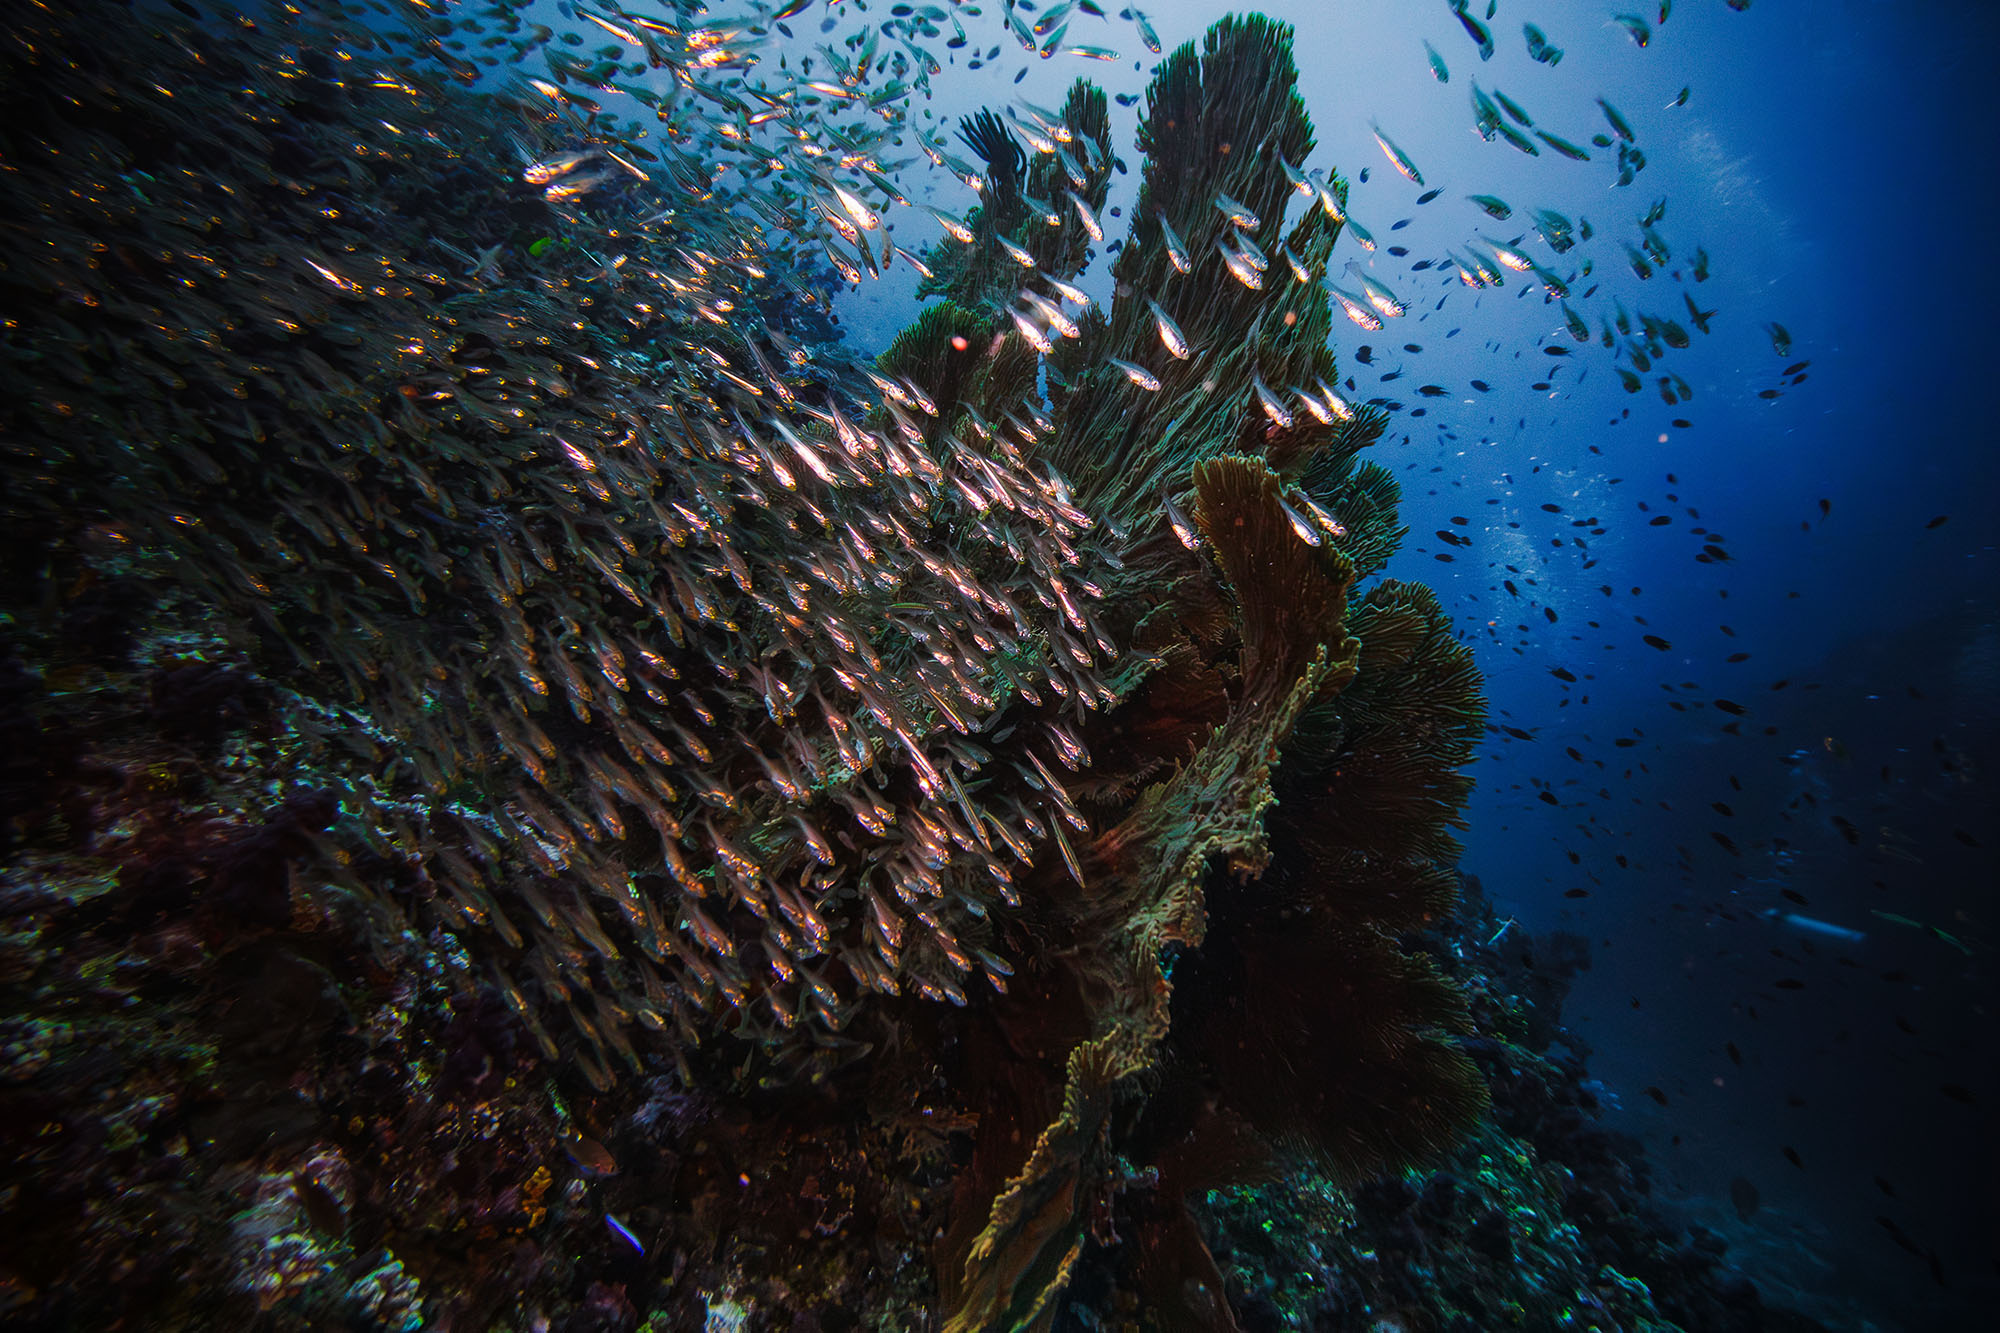 (c) Agniva Kolay, @agniva_k
I will add this – if you know the capabilities of your camera, you can take excellent shots regardless. For example, I absolutely LOVE the photo above by Agniva – and this was shot with a video light. What he has done is understood the limitations of the video light and composed a shot which works within those limits – and the result is absolutely stunning.
That being said, what strobes give you is the ability to take shots like this as well as other shots that you would not be able to take with video lights. So my recommendation for a strobe over video lights stands – but if you have a video light, that’s still good enough: get out there and use it.
The biggest challenge people face with strobes is not exposure – that is actually surprisingly easy to figure out, even in manual mode. The real learning curve lies with strobe positioning.
If you position the strobe directly above the camera (like you would with a flash on land), the light from the strobe is going to illuminate all the particles in the water between you and the subject, giving rise to tremendous backscatter.
So you have to position your strobes further away from the camera and pointing in to your subject from an angle. Depending on the scene you are trying to light, this can be as little as 6-8″ away or as much as 2 feet.
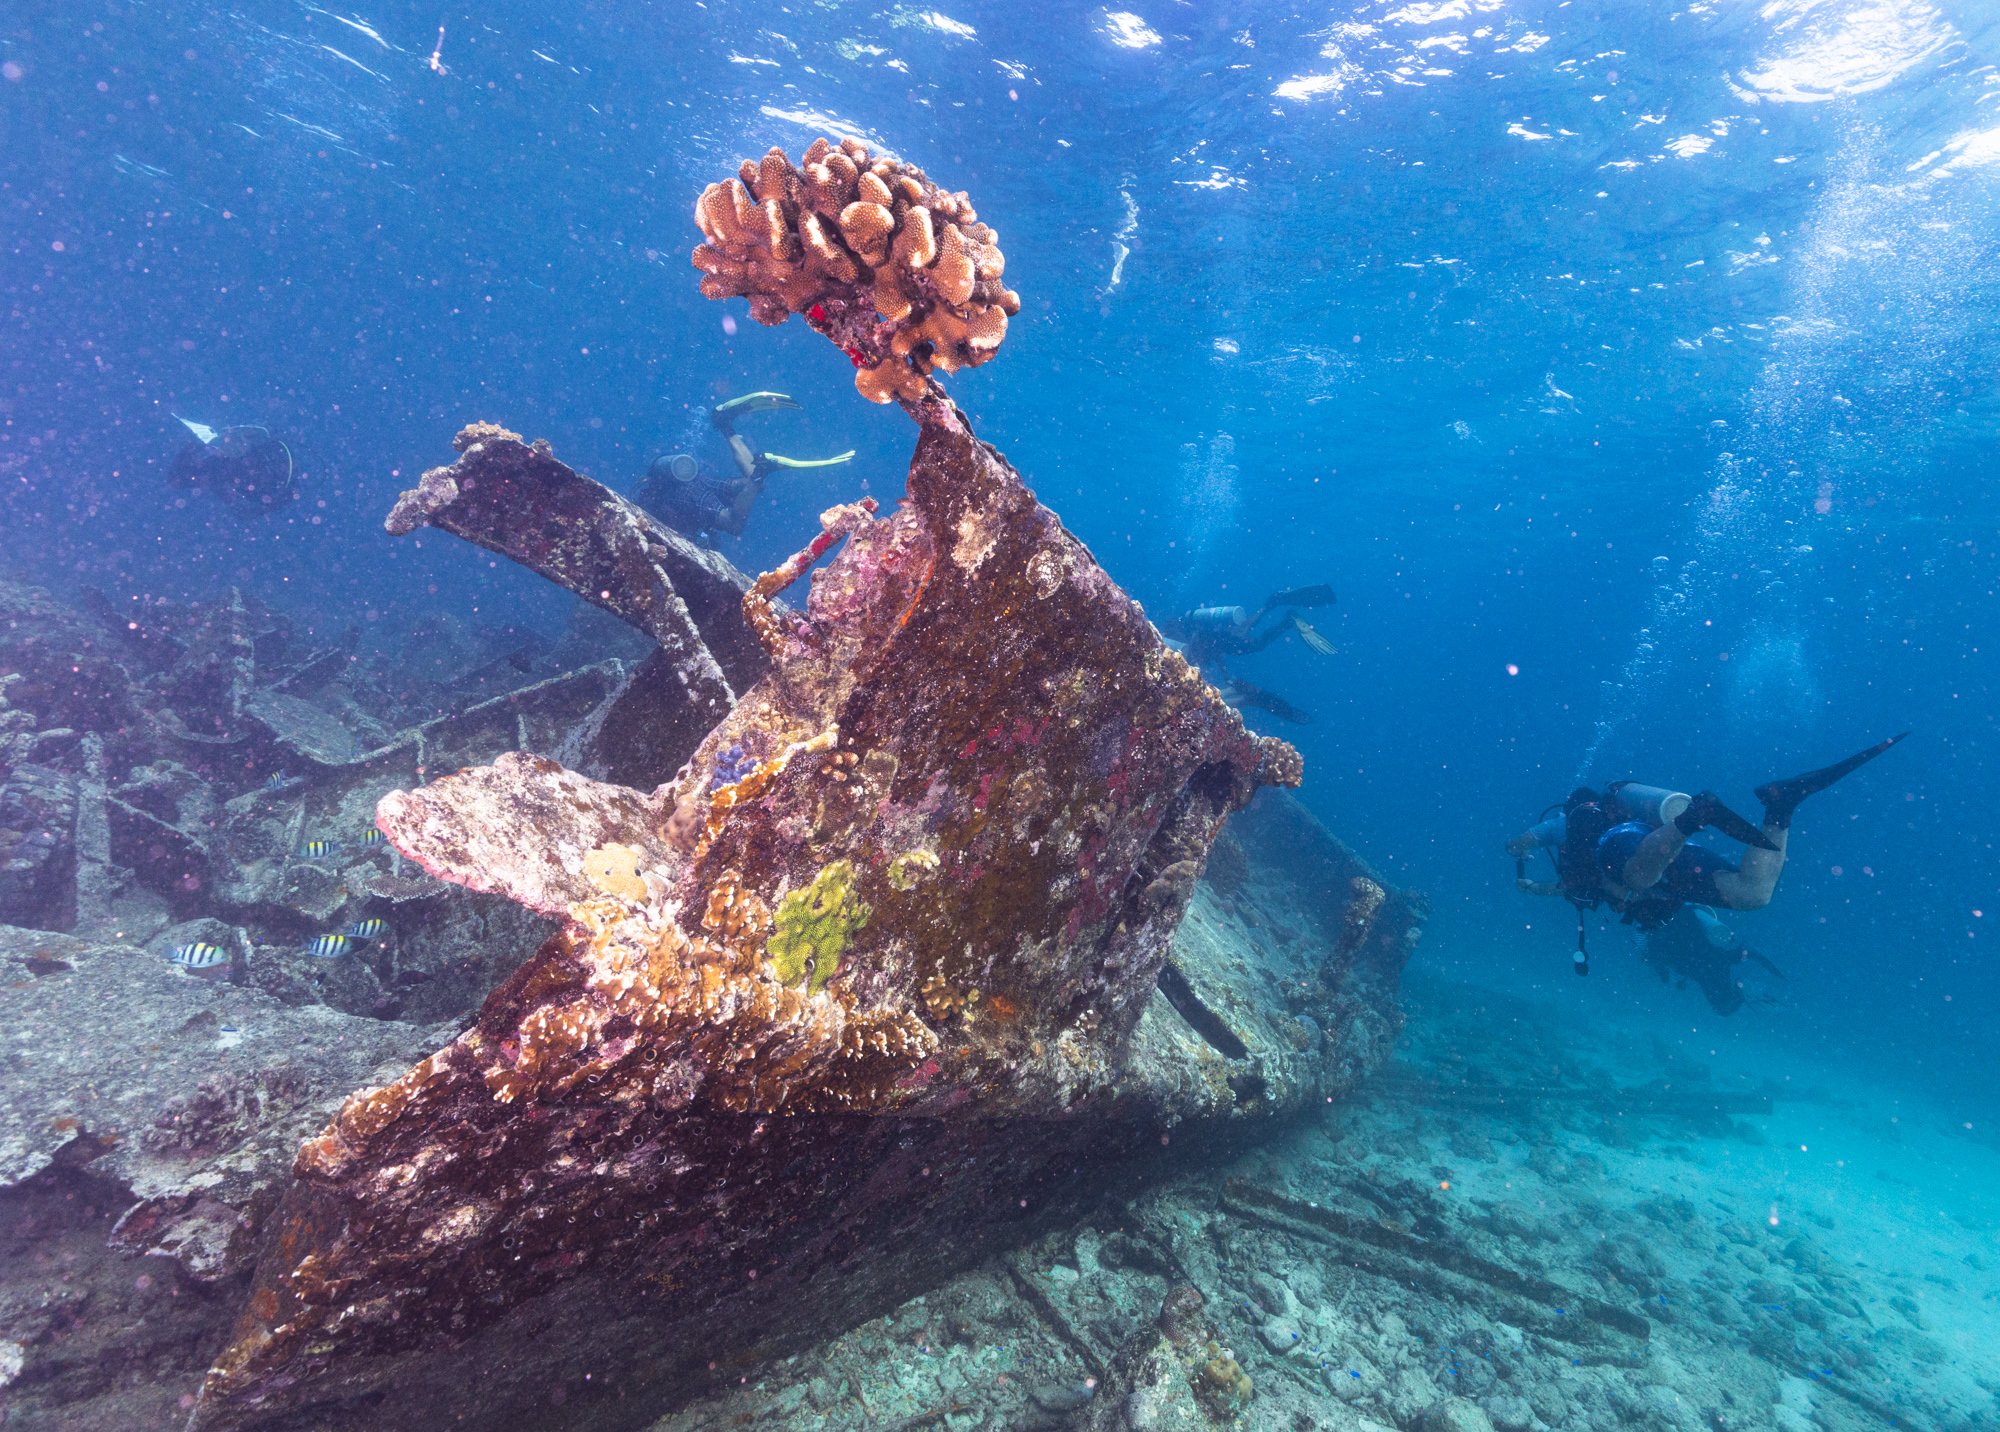
The image above illustrates what happens when you don’t position strobes properly. I was using new strobes on this trip which had a much wider angle of coverage than I was used to – so, despite the clear waters, the beam from the strobe on the left illuminated a lot of particles near the camera, as you can see.
Complicating things is that if you have a strobe off to one side and at an angle, either you have to live with harsh shadows (which you can sometimes make work in your favor), or you need a second strobe to balance things out and provide more even lighting. And now you have to worry about positioning and aiming TWO strobes.
Well, no one said it was going to be easy – if photography was easy, it would be called videography. ;). Jokes apart, this isn’t as steep a hill as you might thing, and is fairly easy to pick up as you go. And the results make it worth the effort.
So hopefully, I have made it clear how important strobes are. In case there is any doubt, let me put it another way: a compact camera with strobes will give you better results than a top of the line ILC (interchangeable lens camera) without a strobe in most cases.
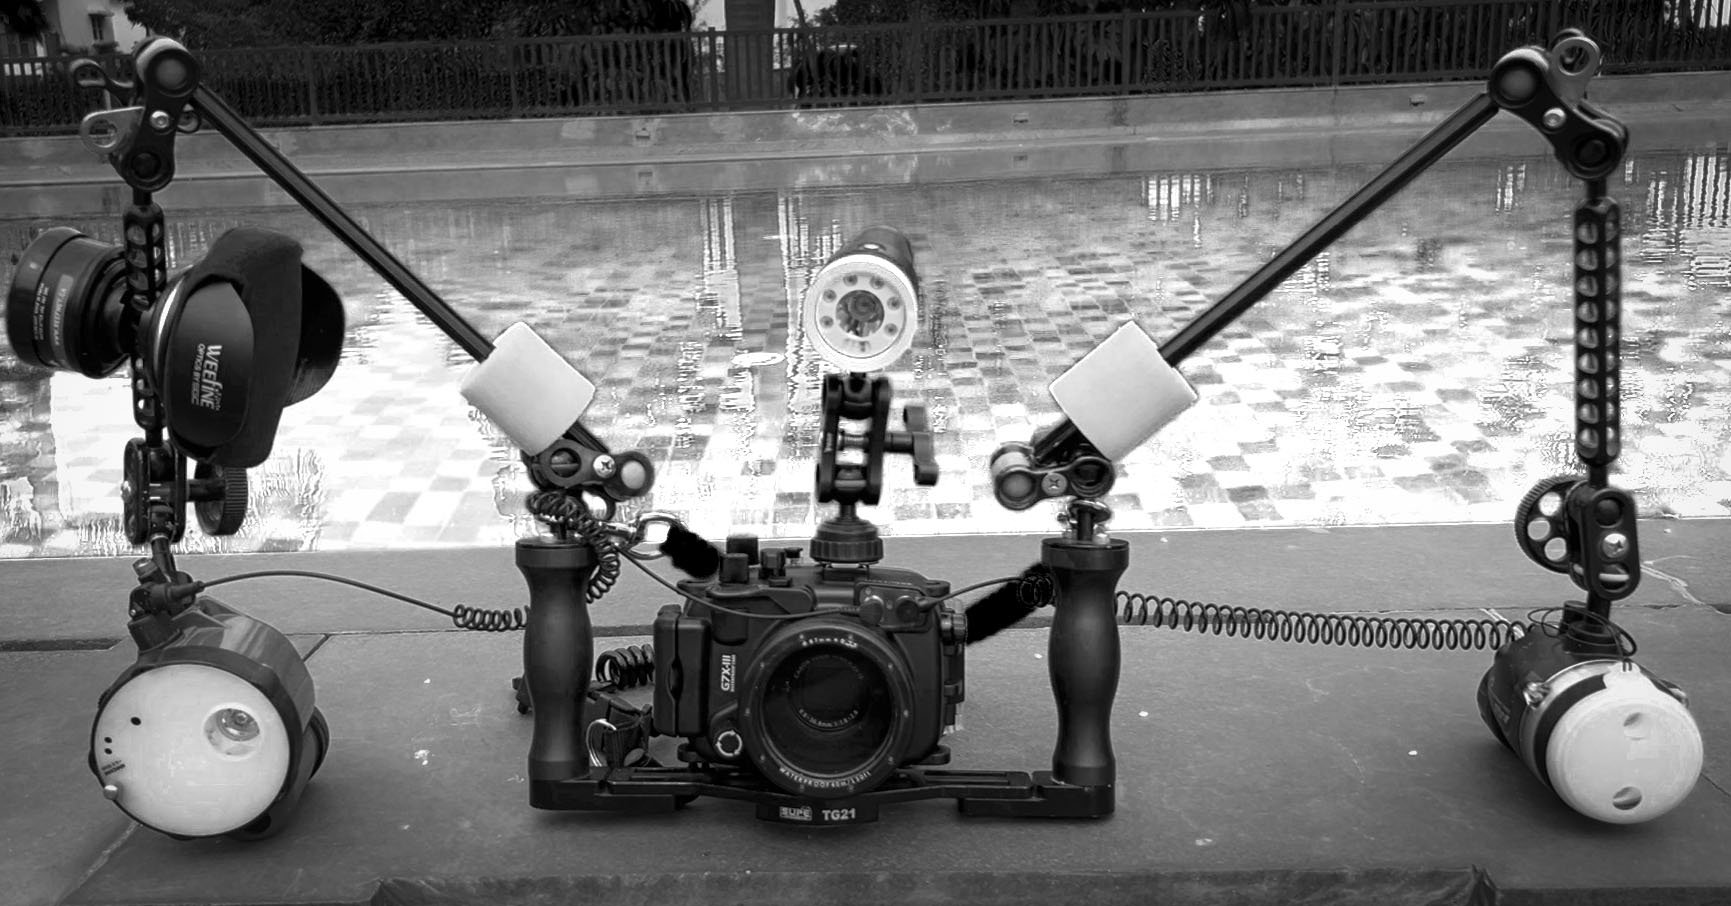
And ideally, you need 2 strobes to cover all lighting. Instant noodles are a great way to save money, by the way.
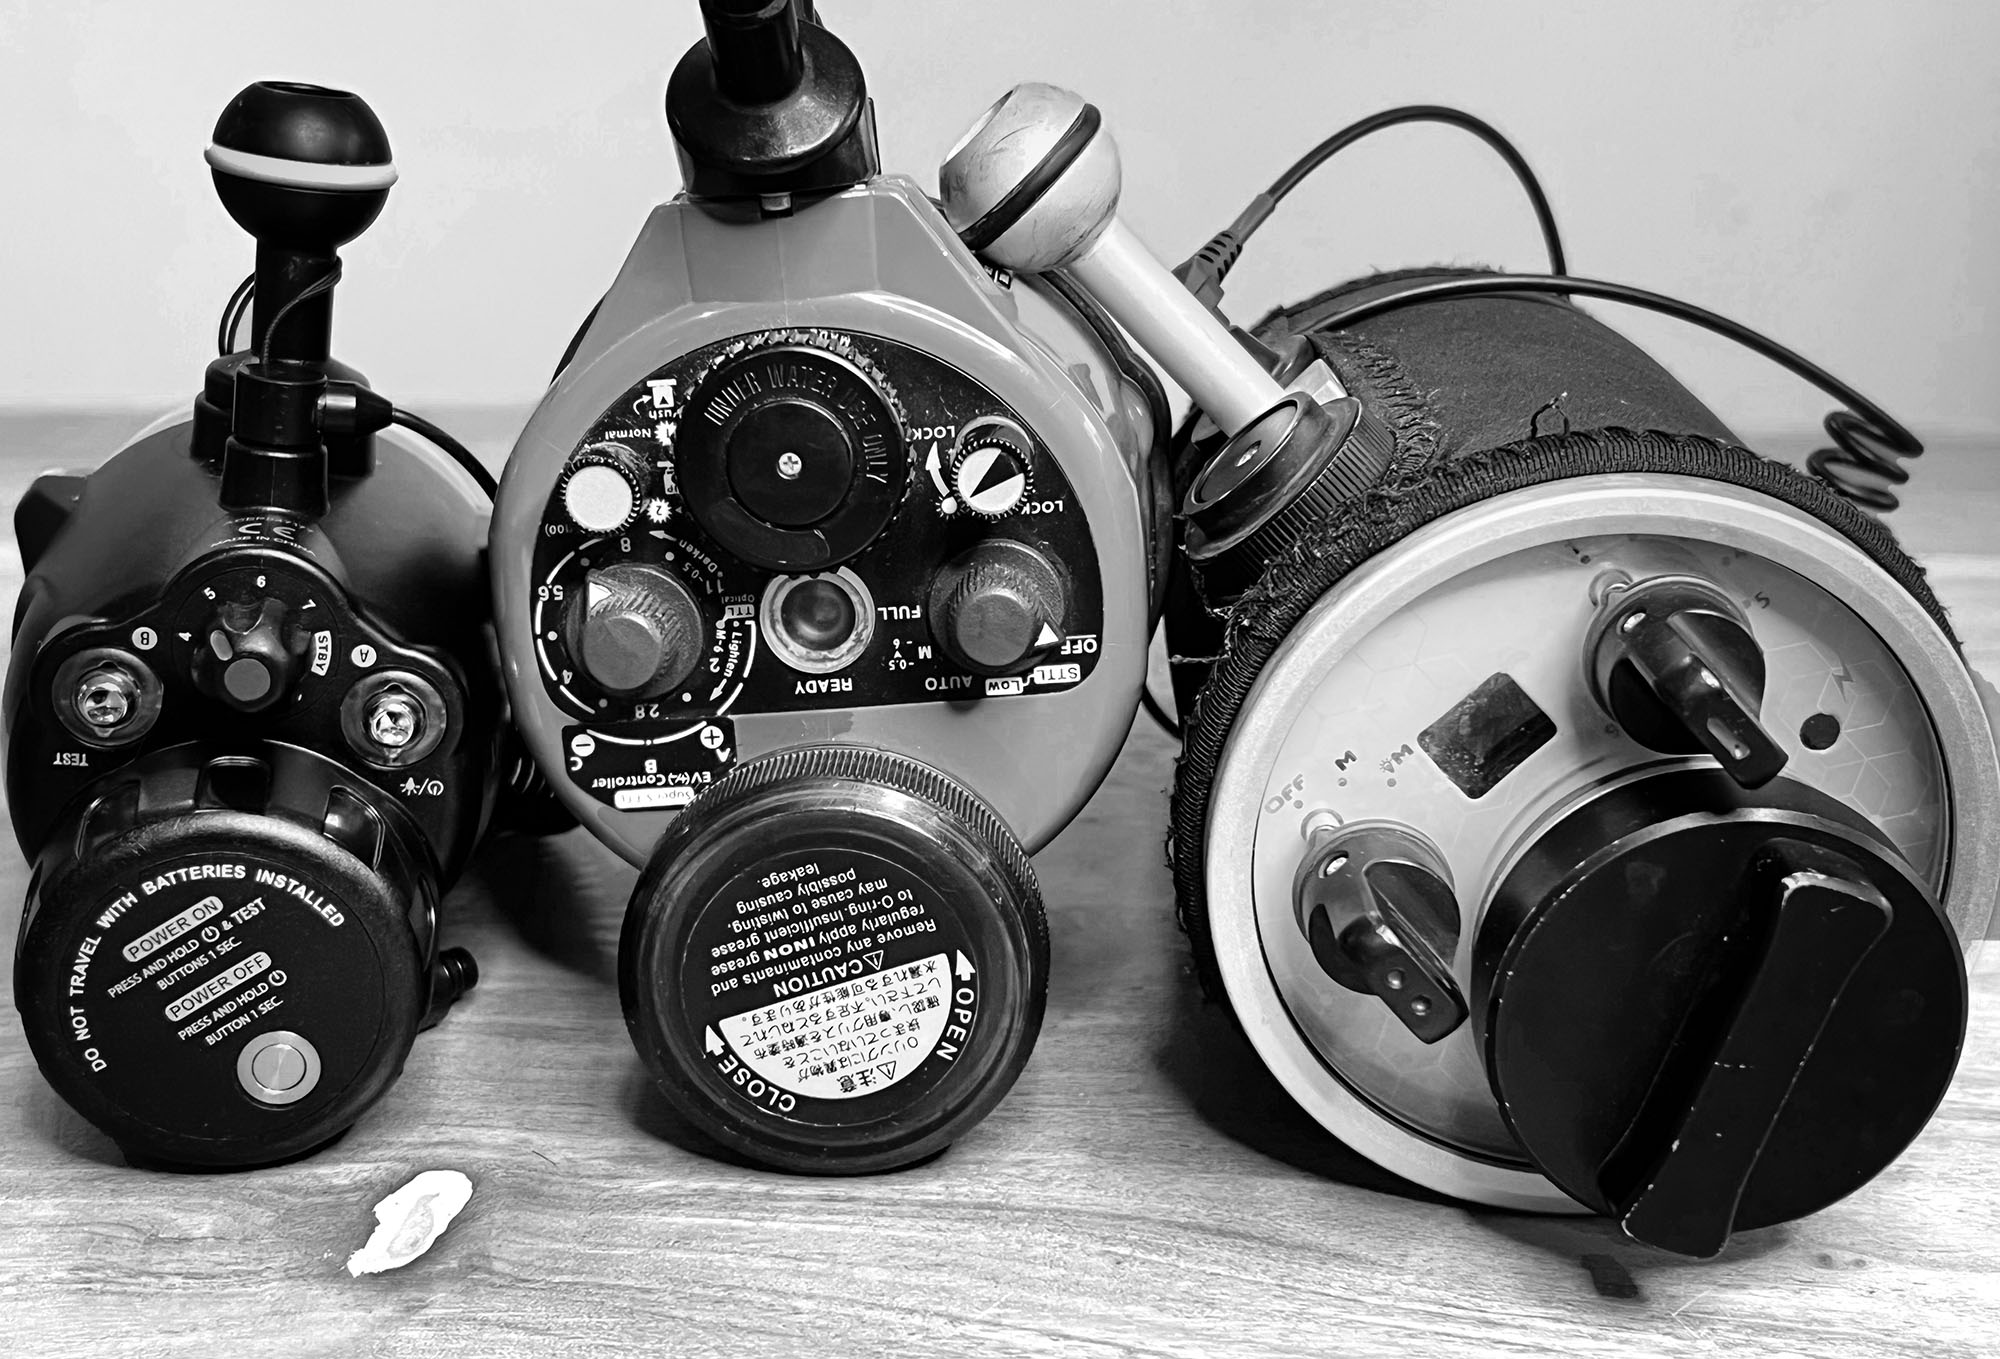
Here is my recommendation for the minimum specifications for a strobe you will not outgrow:
- Guide number 24 (32 is better)
- Minimum 110 degree angle of coverage – with a diffuser, if need be
- Fast recycle tine
- Manual mode
- Li Ion batteries for the significantly longer battery life
- For those planning to shoot macro, the ability to add a snoot and a built-in focus/aiming light are critical.
The idea of GN24 is going to cause some dissent, I believe – so let me explain my rationale. I am not a big believer in needing gonzo power in a strobe. For best results, everything you shoot will be within 2-3 feet from you… or at most 5-6 feet. And at those distances, a GN of 24 will be more power than you will ever need. Well, what if the subject is further away? To start with, if it is more than 6-8 feet away, you are going to lose some sharpness in the image to begin with. Second, even if you have a powerful strobe, by the time the light travels to the subject and back, it will have lost a good amount of red as well, reducing its efficacy. It’s better than nothing, sure but I have never been too interested in trying to take mediocre shots (most of my shots end up that way without any extra effort on my part, sadly). And you can always offset the lower power by increasing the ISO. I am not saying the extra headroom is bad – there definitely will be times when you want that juice. But for me, the tradeoff in size/ease of travel is well worth the lower power.
Re batteries – there is a tradeoff to be made. AA batteries are easy to source and light/easy to carry – but many times, by dive 3, I am already starting to get bit worried about whether the strobe will run out of juice. Li Ion batteries last so much longer without needing recharging – and that makes them worth the hassle.